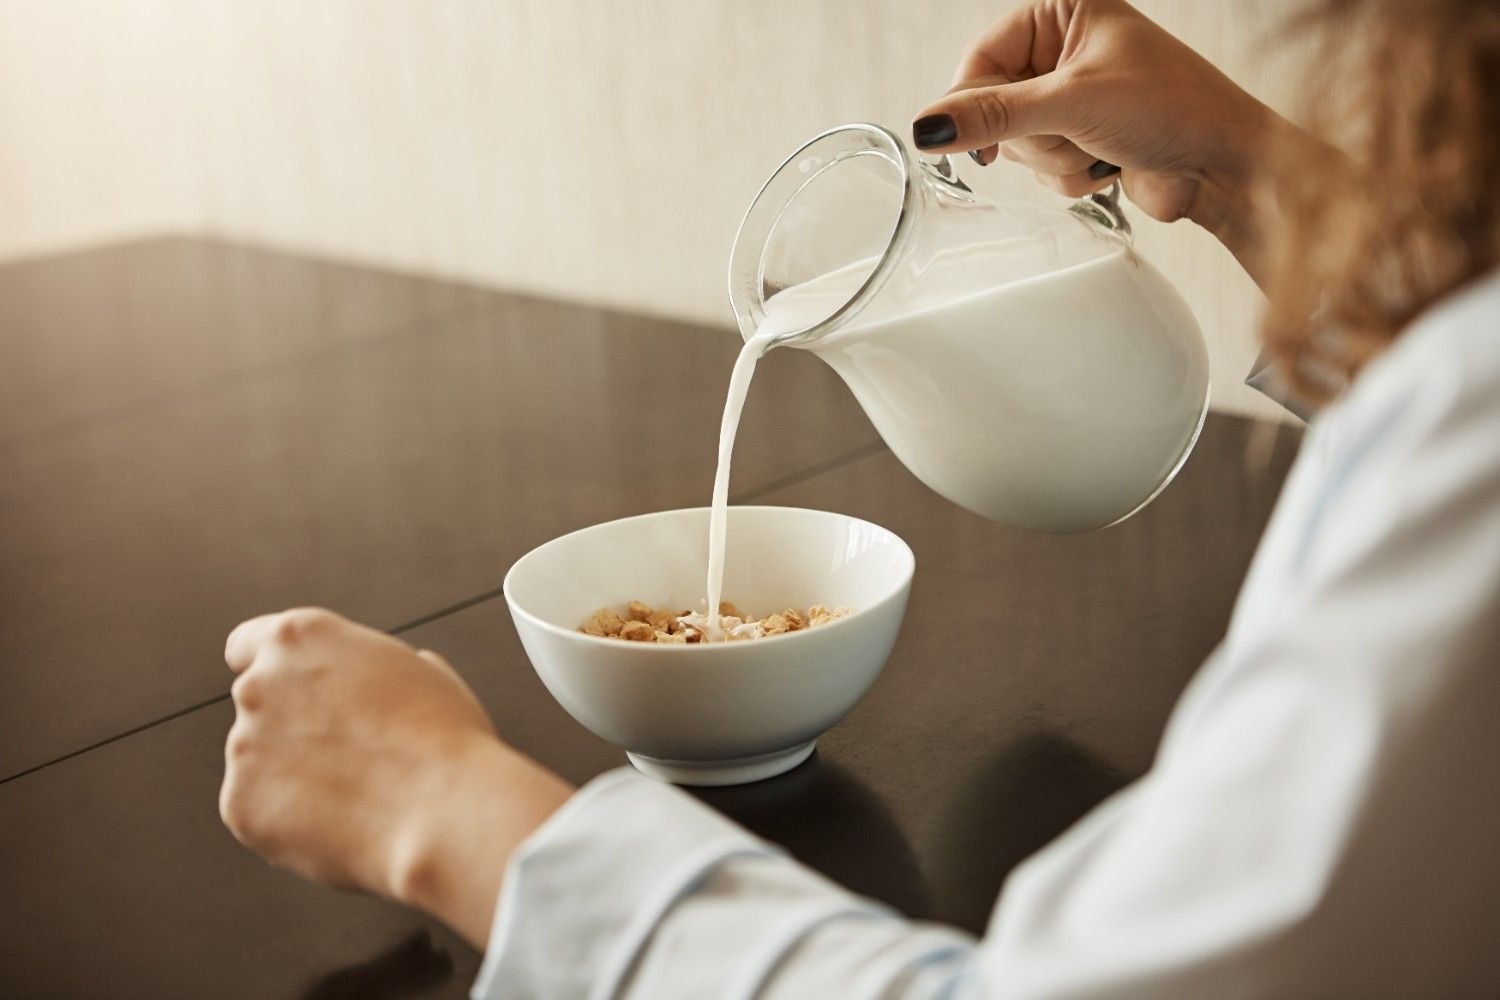
A carton of oat milk and a cup of coffee can taste completely different once I add a layer of soft, creamy foam. The good news is that I do not need an espresso machine, steam wand, or another countertop appliance to get that texture at home.
When I figured out how to froth oat milk without a frother, I realized that ordinary kitchen tools could do most of the work. A mason jar creates quick foam, a French press gives me a finer texture, and even a whisk, blender, or immersion blender can turn plain oat milk into a café-style topping.
The real secret is not expensive equipment. I get better results by choosing the right oat milk, leaving enough room for it to expand, adding air efficiently, and keeping the temperature under control. In this blog, I’ll show the methods I use for both hot coffee and iced drinks, along with the fixes that help when oat milk refuses to foam.
What Oat Milk Froths Best for Coffee?
I usually choose refrigerated barista oat milk when I want foam for a latte or cappuccino-style coffee. These products are designed to perform more consistently in coffee, so they tend to create finer bubbles and hold their texture longer.
Regular oat milk can still froth, although performance varies by brand. If one carton consistently creates thin or unstable foam, I try another variety before assuming my technique is the problem.
For hot drinks, I usually aim for about 140°F to 150°F. I avoid boiling oat milk because excessive heat can negatively affect its flavor and texture.
How to Froth Oat Milk in a Mason Jar
The mason jar method is my simplest option when I do not want to use any special coffee equipment.
I pour cold or gently warmed oat milk into a clean glass jar, filling it no more than halfway. About one-third full works particularly well because the milk needs plenty of space to expand. Oat milk is also a popular choice when comparing the best non-dairy milk for coffee, especially for people who want a creamy texture without using dairy.
I secure the lid tightly and shake the jar vigorously for 30 to 60 seconds. The milk should become visibly foamy and increase in volume.
Next, I remove the lid. If I want hot foam, I microwave the uncovered jar in short intervals for up to about 30 seconds, depending on the microwave’s power and my preferred temperature. Gentle heating after shaking can also help the foam maintain its structure.
I avoid shaking very hot liquid inside a tightly sealed jar because heat can create pressure. The mason jar generally produces larger bubbles than a French press, but it remains one of the fastest ways to improve homemade coffee.
How to Froth Oat Milk With a French Press
When I want finer, creamier foam, I usually choose a French press.
I first warm the oat milk to approximately 140°F to 150°F. Then I pour it into a clean French press until the carafe is roughly one-third full.
I pump the plunger rapidly up and down for about 30 seconds, concentrating much of the movement through the upper portion of the milk. As more air enters the liquid, I can usually feel additional resistance.
Once the milk has expanded and looks creamy, I gently swirl the French press before pouring.
Of the simple household methods I use, the French press usually creates the closest result to café-style microfoam.
Can I Froth Oat Milk With a Whisk?
Yes. A regular kitchen whisk works surprisingly well when I do not have a jar or French press available.
I gently heat the oat milk to around 140°F to 150°F. I can whisk directly in a small saucepan or transfer the warm milk into a deep bowl if I want more room to work.
Then I whisk vigorously for about one to two minutes, keeping the whisk relatively close to the surface so it pulls air into the milk.
The resulting foam is usually lighter than French press foam, but it still adds texture to drip coffee, espresso drinks, and homemade lattes.
Can I Froth Oat Milk in a Blender?
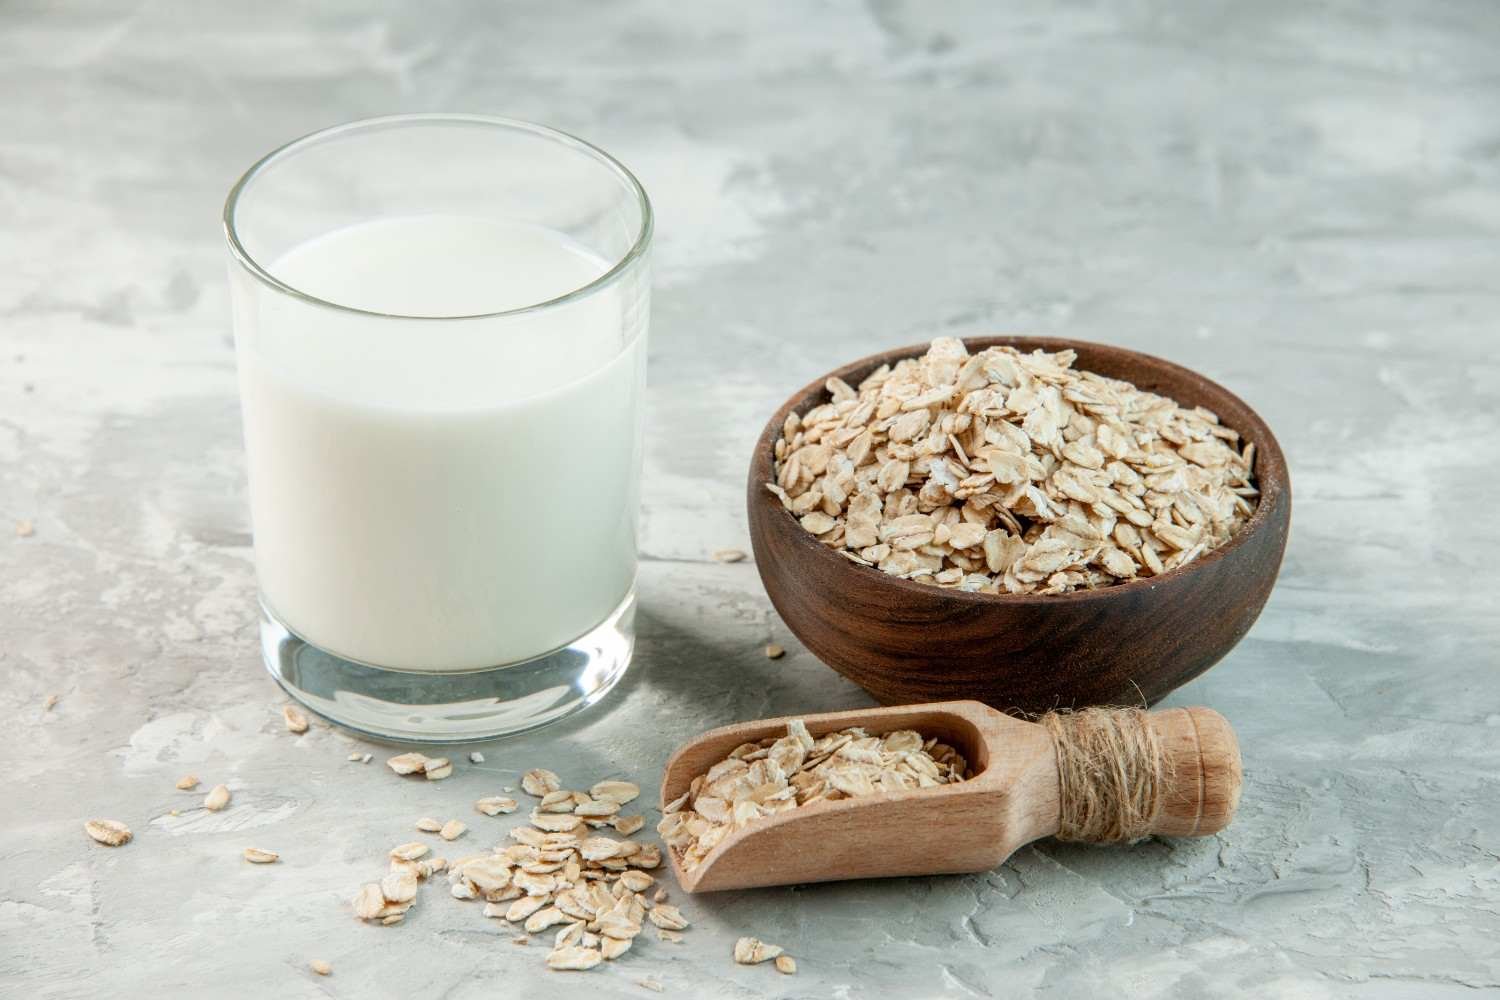
A blender is particularly useful when I want to prepare more than one serving.
For hot coffee, I warm the oat milk first, but I only put warm liquid into a blender if the manufacturer specifically says the container can safely handle it.
I begin on low speed for a few seconds before gradually increasing the speed. Depending on the blender and oat milk, a substantial layer of foam can develop within approximately 20 to 45 seconds.
If my blender is not designed for warm liquids, I blend refrigerated oat milk instead and heat it separately afterward. This avoids unnecessary pressure buildup inside the blender container.
How to Froth Oat Milk With an Immersion Blender
An immersion blender is one of my favorite options for a single serving.
I pour warm oat milk into a tall container and position the blender head close to the surface. Then I move it gently up and down for around 20 to 30 seconds.
Keeping the blade near the surface allows it to pull more air into the milk. I prefer a tall container because it helps contain splashes while giving the foam room to develop.
Why Is My Oat Milk Not Frothing?
When oat milk refuses to foam properly, I first check the milk itself. Very thin varieties may not hold bubbles as effectively as fuller-bodied or barista blends.
Temperature also matters. Overheating oat milk can weaken its texture, while filling a mason jar or French press too high leaves too little room for air and expansion.
I also keep my equipment clean. Oil, food residue, or other buildup on a whisk, blender, jar, or French press can interfere with foam formation.
Finally, I pour the milk soon after frothing. Even good foam gradually separates and collapses if I allow it to sit too long.
Hot Oat Milk Foam vs. Cold Oat Milk Foam
I use warm foam for lattes, mochas, and other hot espresso drinks. Keeping the oat milk around 140°F to 150°F provides plenty of warmth without pushing it toward boiling.
For iced coffee or cold brew, I usually start with refrigerated oat milk and froth it without heating.
Cold oat milk foam tends to feel lighter, while warm foam integrates more smoothly with espresso. I choose the temperature based on the drink rather than following one universal frothing rule.
Which Oat Milk Frothing Method Works Best?
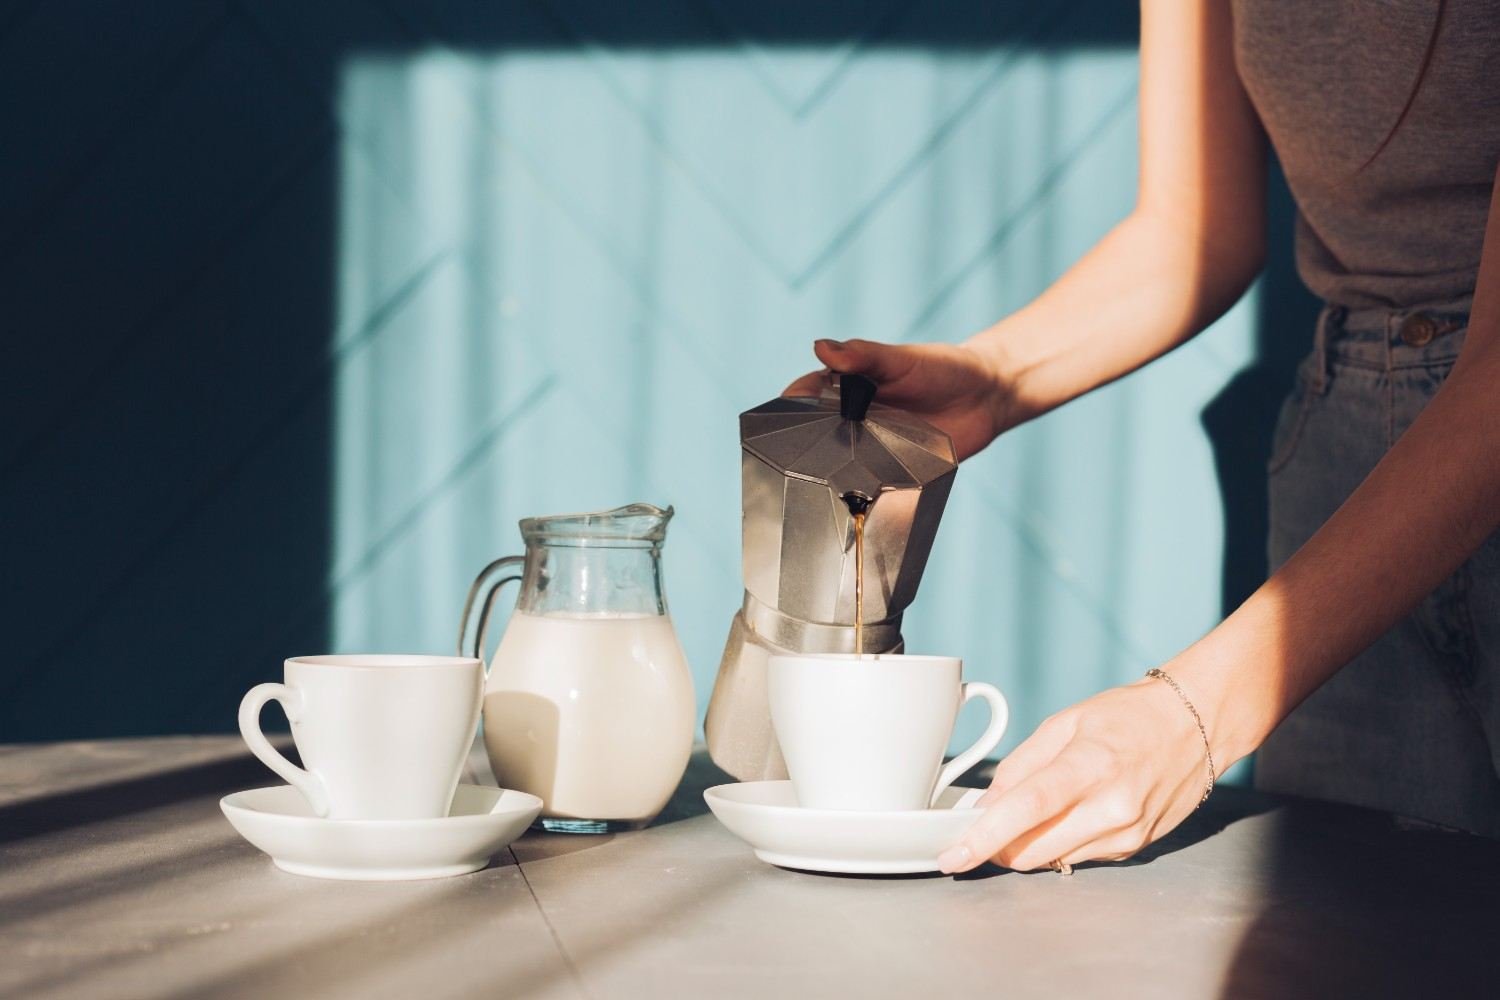
For me, the French press produces the finest foam, while the mason jar wins for simplicity. A whisk works when I have almost no equipment, a full-size blender is convenient for larger batches, and an immersion blender is ideal when I only need one serving.
Creating good foam is mainly about controlling air, heat, and milk quality. Paying attention to those three factors has made a noticeable difference in my homemade coffee.
Frequently Asked Questions (FAQs)
Can Regular Oat Milk Be Frothed?
Yes. Regular oat milk can froth, although the texture and foam stability vary between brands. I usually get more consistent results from barista-style oat milk.
Does Oat Milk Froth Better Hot or Cold?
Both temperatures can work. I use cold oat milk for iced coffee and cold foam, while I warm oat milk to approximately 140°F to 150°F for hot lattes and espresso drinks.
Why Does My Oat Milk Foam Disappear Quickly?
Large bubbles collapse faster than fine foam. Thin oat milk, excessive heat, dirty equipment, or allowing the foam to sit too long can also cause it to break down faster.
What Is the Easiest Way to Froth Oat Milk at Home?
I find the mason jar method easiest because it requires virtually no special equipment. When I want finer and more consistent foam, I prefer using a French press.
Final Thoughts
Once I learned how to froth oat milk without a frother, I stopped treating an electric milk frother as essential for making better coffee at home. A mason jar gives me convenience, a French press creates finer foam, and a whisk, blender, or immersion blender gives me plenty of alternatives.
The best results come from leaving enough room for expansion, controlling the temperature, keeping equipment clean, and choosing fuller-bodied oat milk when possible. With those basics in place, I can prepare creamy lattes, iced coffees, cold brews, and cappuccino-style drinks without adding another appliance to my kitchen counter.
Leave a Reply